SAASFlow - Modern Next.js SaaS Template
Regular Price$99$39
Lifetime access • Free updates
SaaS
Modern
Responsive
Share This:
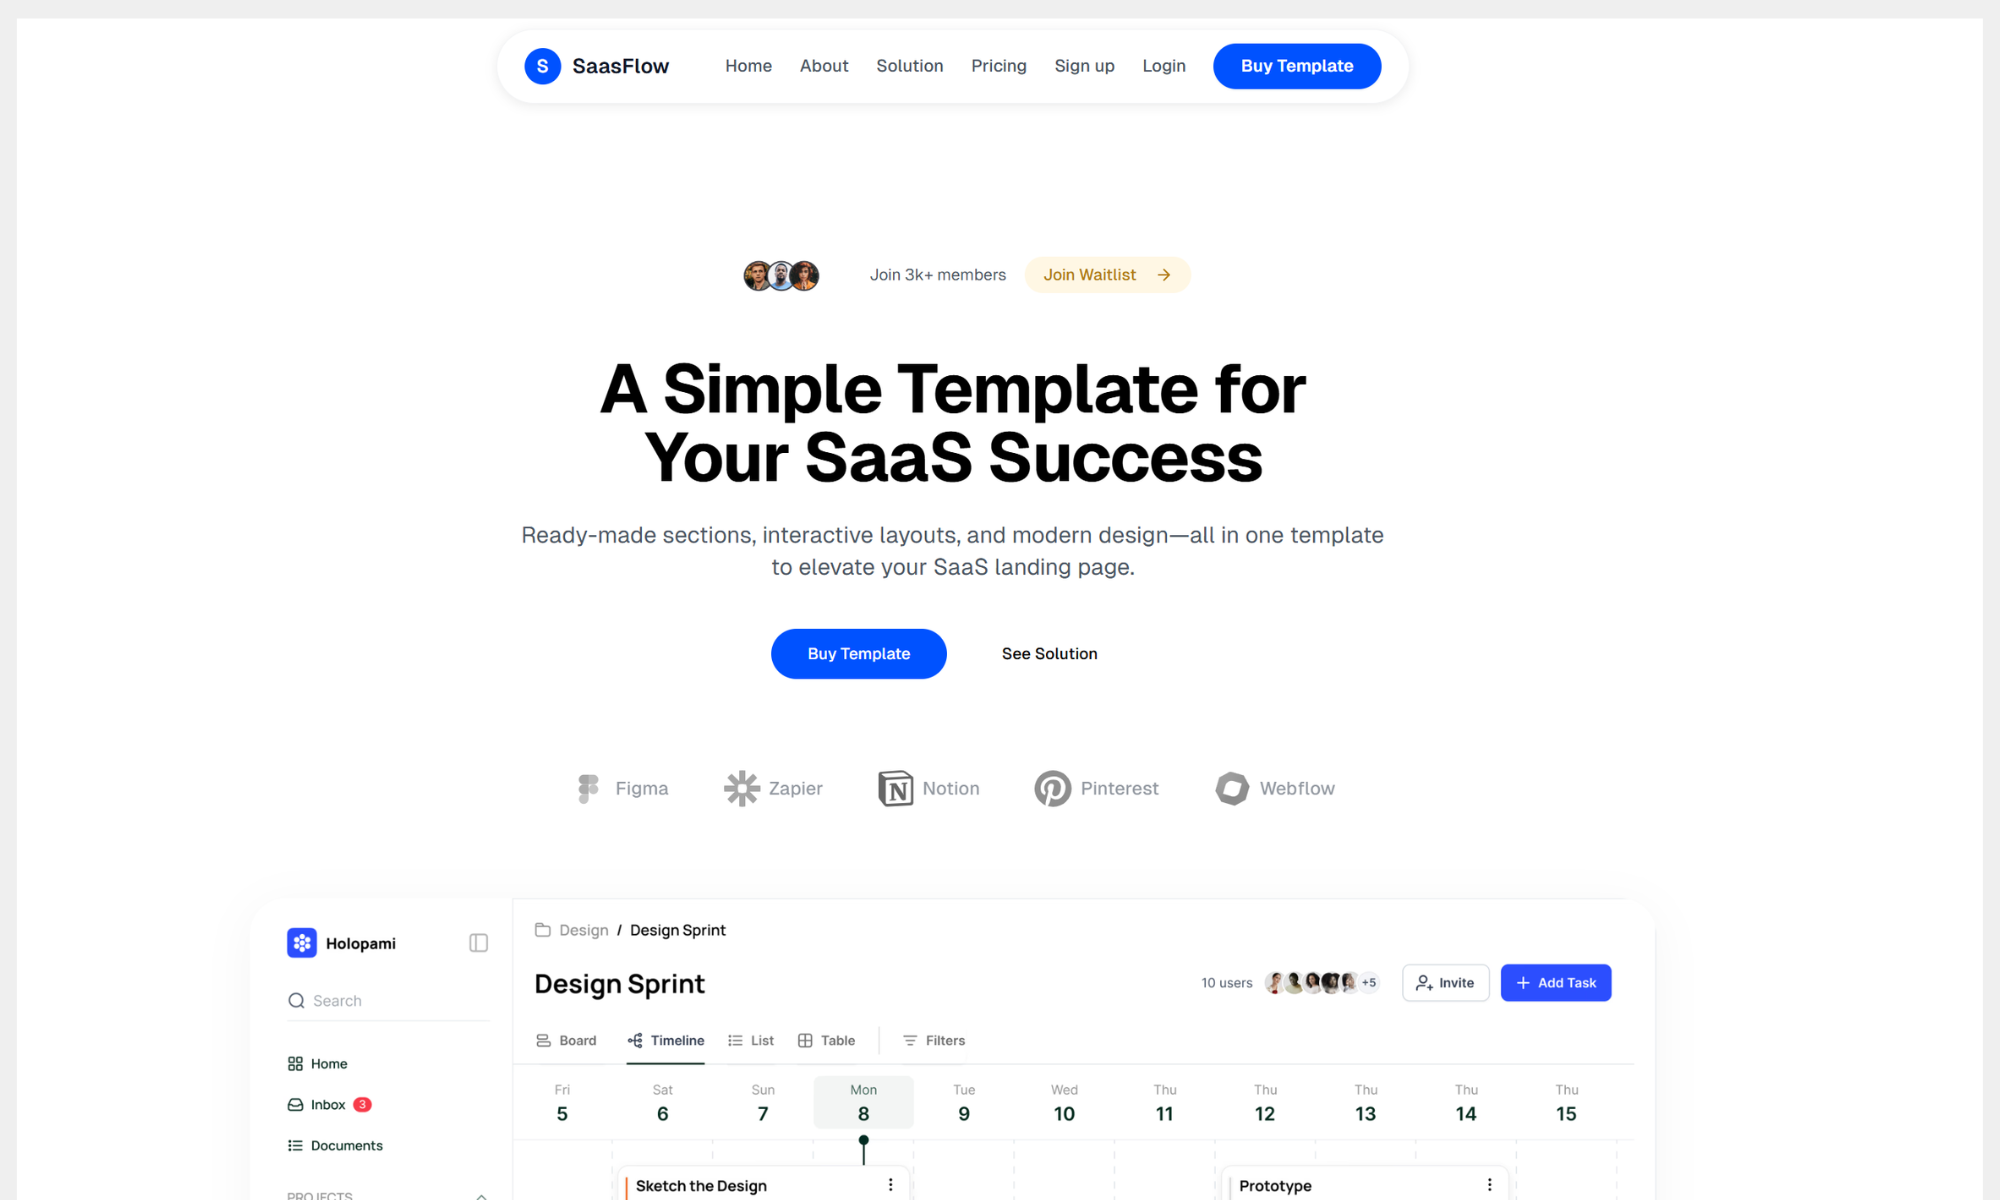
SAASFlow - Next.js SaaS Landing Page Template
Create a stunning, responsive, and fast-loading SaaS landing page with SAASFlow, our powerful Next.js + Tailwind CSS template. Perfect for startups, tech products, and digital services, SAASFlow is built for high performance and ease of customization.
Features:
- Next.js 13+ with App Router for fast navigation
- Tailwind CSS for easy styling and responsiveness
- SEO-optimized with metadata and structured data
- Fully responsive and mobile-friendly design
- Easy customization with modular components
Deploy your SaaS landing page in minutes on Vercel, Railway, Render, DigitalOcean, or Vultr with our detailed installation guide.
Installation Instructions
1. Purchase & Download
- Buy SAASFlow and download the ZIP file.
- Extract the contents on your local machine.
2. Create a Git Repository
- Navigate to the extracted folder and initialize Git:
git init git add . git commit -m "Initial commit" - Create a new repository on GitHub/GitLab/Bitbucket.
- Add the remote repository and push the code:
git remote add origin <your-repo-url>
git branch -M main
git push -u origin main
3. Deployment Platforms
Deploying on Vercel
- Go to Vercel and log in.
- Click New Project and select your Git repository.
- Choose the default Next.js settings and click Deploy.
- Once deployed, assign a custom domain in Settings > Domains.
Deploying on Railway
- Go to Railway.app and create an account.
- Click New Project > Deploy from GitHub Repo.
- Select your repository and set the root directory.
- Deploy using default settings and view your site.
- Configure a custom domain in Settings > Domains.
Deploying on Render
- Sign up at Render.
- Create a New Web Service.
- Connect your GitHub repository.
- Set the build command to:
npm install && npm run build - Deploy and add a domain in Settings > Custom Domains.
Deploying on DigitalOcean (App Platform)
- Go to DigitalOcean and create a new App.
- Select GitHub Repository and connect your repo.
- Choose Next.js as the framework and deploy.
- Add a domain in App Settings > Domains.
Deploying on Vultr
- Log in to Vultr.
- Deploy a Vultr Cloud Instance and install Node.js.
- Clone your repository:
git clone <your-repo-url> cd saasflow npm install npm run build npm start - Set up a domain using Vultr's DNS Settings.
Editing the Template
Modifying the Content
- Open app/page.tsx to edit the homepage text and sections.
- Update global styles in app/globals.css.
- Change Tailwind settings in tailwind.config.ts.
Changing the Domain Name
Each platform allows custom domain settings:
- Vercel: Go to Settings > Domains and add your custom domain.
- Railway: Use Settings > Domains to configure.
- Render: Navigate to Settings > Custom Domains.
- DigitalOcean: Add a custom domain under App Settings > Domains.
- Vultr: Configure the domain via DNS Settings.
Now your SAASFlow landing page is live! 🚀
Before You Buy Single!
Save Over 90% with All-Access Pass
Get instant lifetime access to all templates and ebooks with commercial license
One-time payment • Lifetime updates